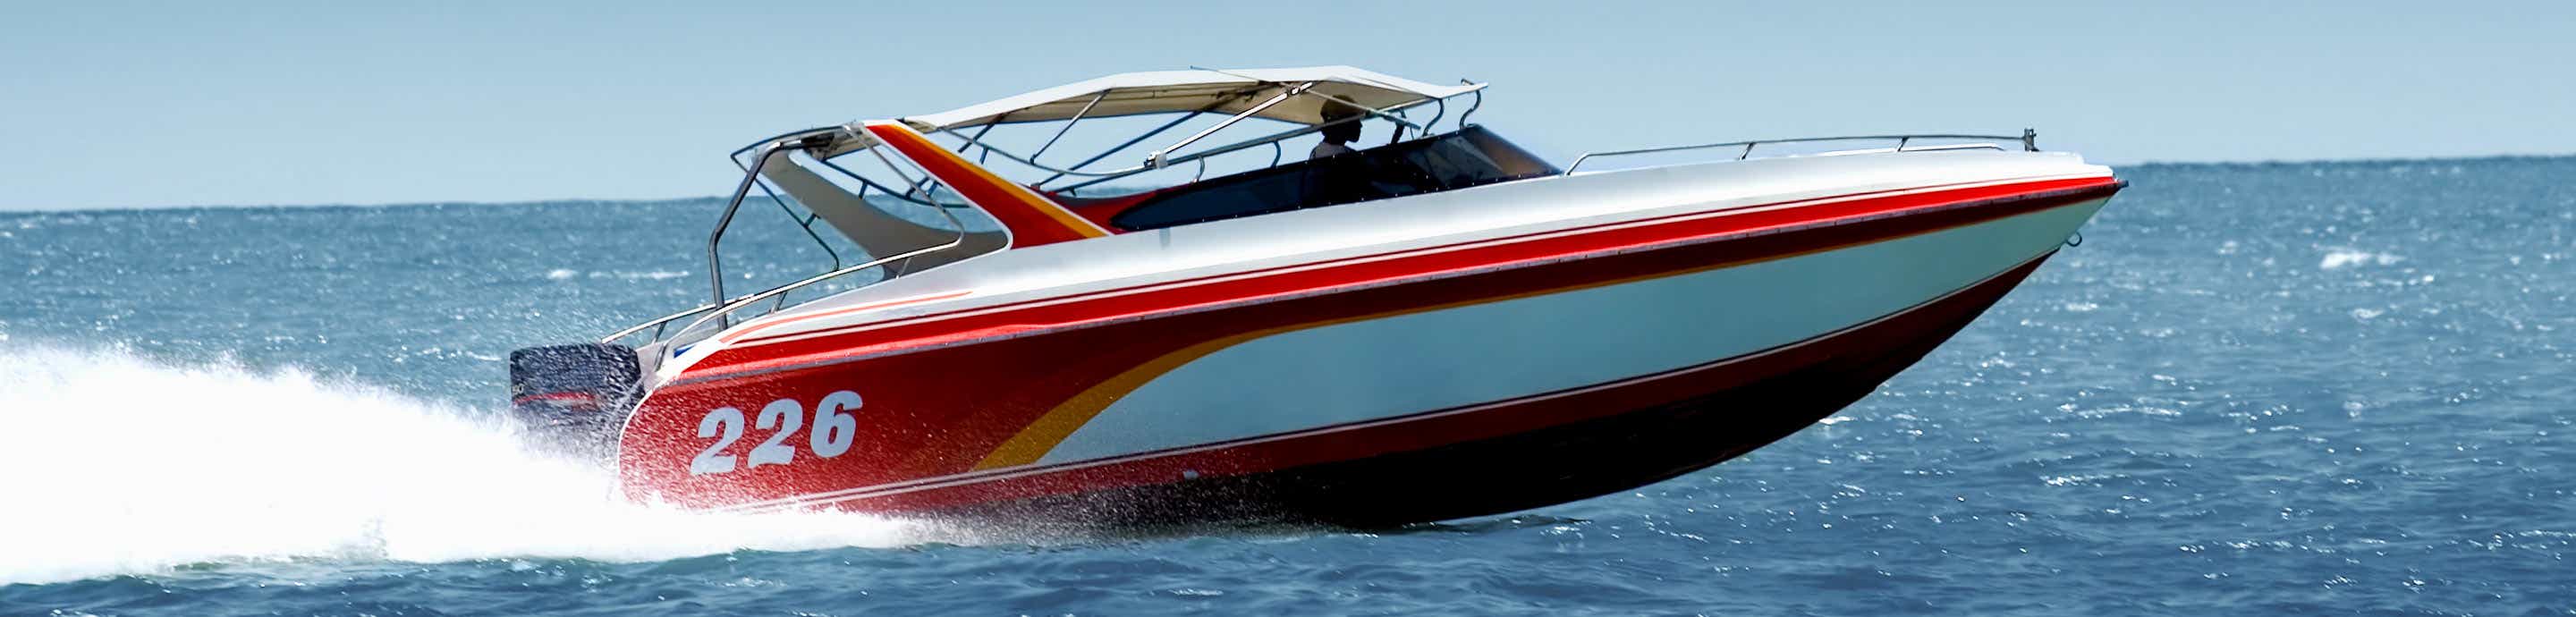

Operation Gut Rot....SCARAB SPRINT 18
This is a Thread I made for those of you thinking about rebuilding the structure in your boat. Its a long project that takes lots of money, patience, and moderate skill. Enjoy the read, this will be a learning experience for us all. Your input and comments are always welcome. (edited 3/8/12)
Hey fella's
I'm rebuilding my boat with new engine, interior, and flooring.
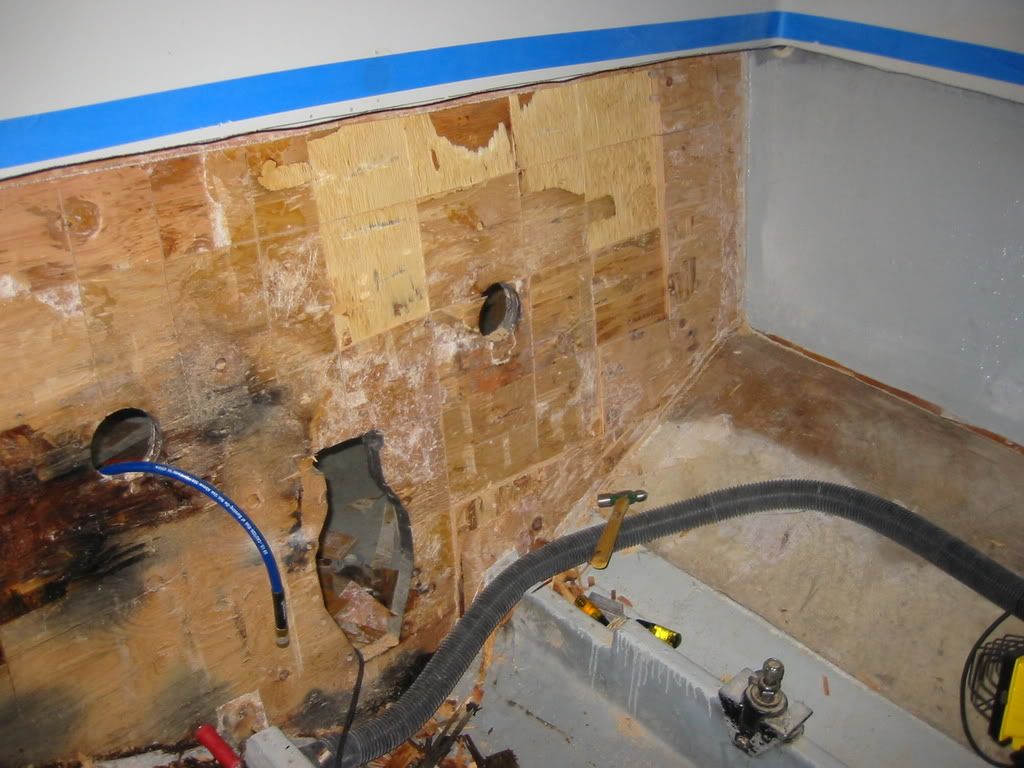
I pulled the floors up this weekend....not happy. I found most of the 1 inch plywood stringers are soggy and all the compartments I have opened so far have had water in them. I was hoping to get the footrest/gastank support panel out this weekend but lack of manpower halted that goal.
I am capable of going through with this, so please NO discouraging comments. I have just enough drive to get this done. help only please. questions happily welcomed!!
Questions....
How do I go about pulling them out? Should I cut out all the glass that holds them in too?
Should I do all of it at once or leave some in to support the hull shape while I remove and rebuild others?
The bottom of the hull has a wood core too right? I am getting drip out of the drain hole....but the engine compartment is empty and clean.(no water) Does this mean the core is rotten too? Or is it normal for older boats to have some water between the fiberglass?
.02???
The further I dig into the bottom the more work i find. I wonder how far i should dig.... :dead:
This is a Thread I made for those of you thinking about rebuilding the structure in your boat. Its a long project that takes lots of money, patience, and moderate skill. Enjoy the read, this will be a learning experience for us all. Your input and comments are always welcome. (edited 3/8/12)
Hey fella's
I'm rebuilding my boat with new engine, interior, and flooring.
I pulled the floors up this weekend....not happy. I found most of the 1 inch plywood stringers are soggy and all the compartments I have opened so far have had water in them. I was hoping to get the footrest/gastank support panel out this weekend but lack of manpower halted that goal.
I am capable of going through with this, so please NO discouraging comments. I have just enough drive to get this done. help only please. questions happily welcomed!!
Questions....
How do I go about pulling them out? Should I cut out all the glass that holds them in too?
Should I do all of it at once or leave some in to support the hull shape while I remove and rebuild others?
The bottom of the hull has a wood core too right? I am getting drip out of the drain hole....but the engine compartment is empty and clean.(no water) Does this mean the core is rotten too? Or is it normal for older boats to have some water between the fiberglass?
.02???
The further I dig into the bottom the more work i find. I wonder how far i should dig.... :dead:
 opc1
opc1